ZZZ Dodge and Assist Guide: Read Attacks, Stay in Control
Practice dodge counters and defensive assists in Zenless Zone Zero with a short training routine, clear attack cues and fixes for common timing mistakes.
Original AI-assisted fan illustration for Zenless Hub. Artwork & editorial policy.
React to the incoming hit, not just the first animation you notice. A reliable dodge or assist keeps your rotation moving; repeatedly pressing both buttons usually makes the result harder to understand.
Learn one enemy before adding complexity
Use training or a familiar encounter with one clearly visible opponent. Stop attacking briefly and watch its wind-up, movement and point of impact. Some attacks have a delay, and a multi-hit sequence can continue after the first strike.
Keep the camera facing the enemy and leave room to move. If an effect hides its model, reposition before trying a precise counter. Visual clarity is a practical combat resource.
Read the flash correctly
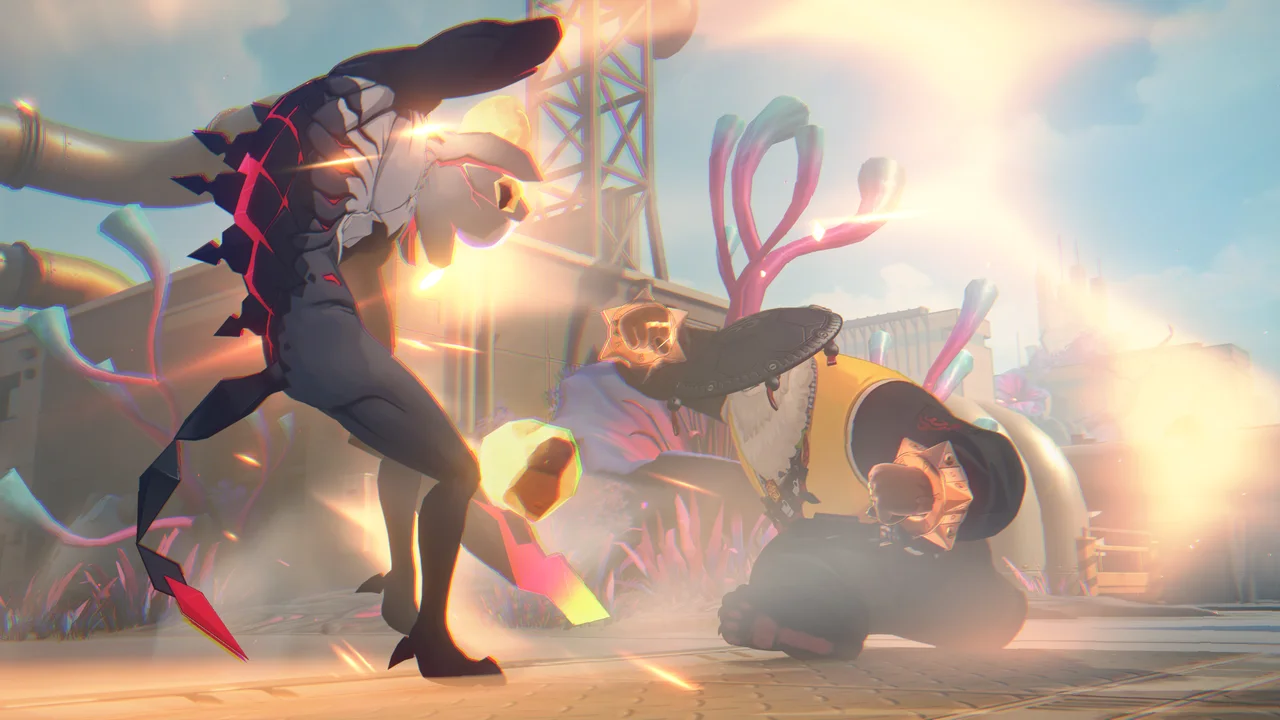
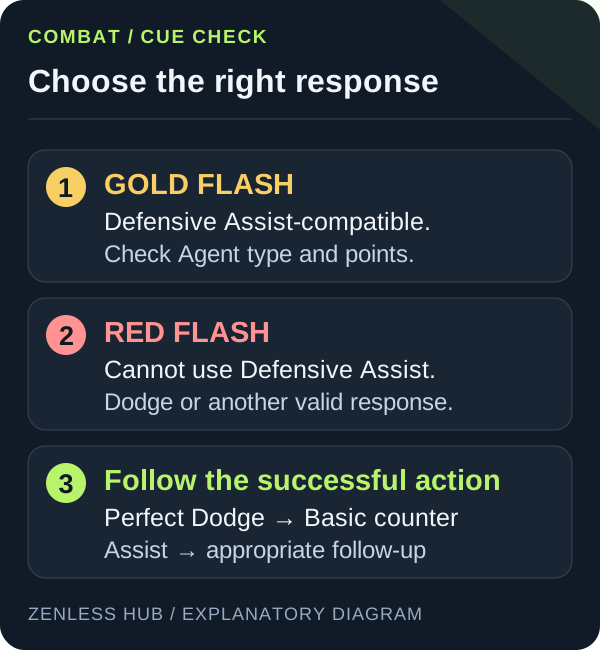
The Version 3.2 update notice describes gold flashes as attacks that can be countered with a Defensive Assist, and red flashes as attacks that cannot. These are cues about a particular defensive option, not an instruction to press every available button.
Your available Assist Points and the incoming Agent’s assist type also matter. When the option you want is unavailable, dodge or move away instead of repeating the same failed input.
Connect the cue to the input
Use the action names in Options → Input / Mouse & Keyboard to identify your bound Dodge, Switch to Next Agent and Basic Attack buttons. Layouts can be remapped, so the same key printed in an old video may mean a different action on your setup. Control-menu reference.
For a Dodge Counter, time Dodge against the incoming hit, then use Basic during the successful Perfect Dodge response. For a Defensive Assist, switch to the eligible incoming Agent at the attack, then use the follow-up input. A gold flash does not supply missing Assist Points. A red flash specifically rules out Defensive Assist, rather than every form of evasion.
A five-minute practice routine
- Watch three attacks without trying to maximize damage.
- Dodge the next few strikes while tracking the moment of impact.
- Add the follow-up counter after a successful dodge.
- Practice switching on an appropriate assist opportunity.
- Return to your normal rotation while keeping the same timing.
Use the same enemy and equipment throughout the exercise. Changing characters, graphics settings and difficulty together makes progress difficult to assess.
Why your timing can feel inconsistent
| Failed attempt | Next drill |
|---|---|
| Hit after the dodge ends | Wait for the delayed impact rather than the first movement |
| Successful dodge, no counter | Add the attack input immediately after the successful dodge |
| Wrong Agent appears | Check squad order and incoming assist type |
| First strike avoided, follow-up hits | Watch the complete multi-hit pattern before attacking |
| Enemy disappears off-screen | Reposition and turn the camera before restarting the combo |
If you dodge too early, you may finish the movement before a delayed hit arrives. If you switch late, the attack may already have connected. If you are hit from off-screen, the solution may be positioning instead of faster reactions.
On PC, unstable frame delivery can also make timing uncomfortable. See our graphics settings guide for a consistent baseline. There is no universal settings preset that makes every machine behave identically.
Return to the damage plan
A successful defensive action should lead back to useful pressure. Avoid chasing a counter when the enemy is already giving your attacker a clean opening. Combine this routine with the Daze and Stun guide to understand when defense helps create your next damage window.
Published September 16, 2026 · Updated September 20, 2026 · See our editorial policy
Source-based editorial guidance. References and the scope of examples are identified in the article. How this content is reviewed.